Cost Monitoring
Efficient management of cloud resources is crucial for optimizing operational expenses and ensuring optimal performance. Cloud cost monitoring plays a pivotal role in this strategy, providing organizations with comprehensive insights into their expenditure across various cloud platforms.
Note: Currently, we provide Cost Monitoring for AWS and GCP. Excitingly, we are actively developing support for Azure, coming soon.
Steps to Access Cloud Cost Monitoring#
Step 1: Navigate to the Dashboard Page:#
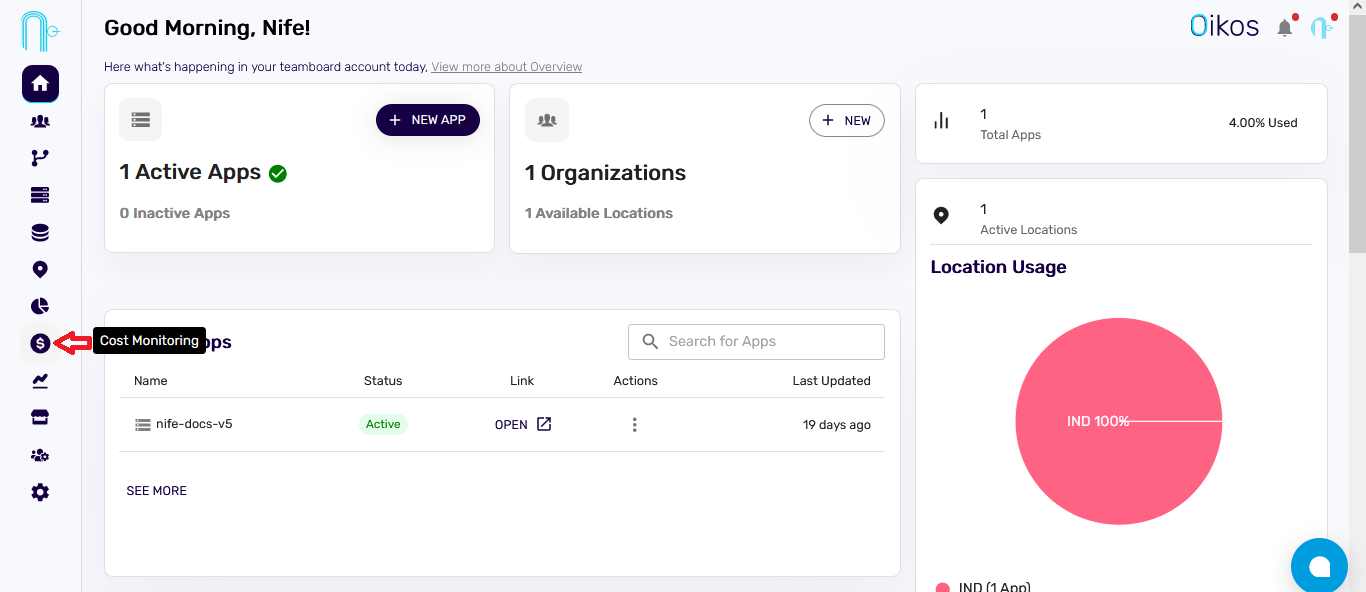
Log in to your account and access the Dashboard page.
Step 2: Select "Cost Monitoring" from the Side Navigation:#
On the Dashboard, locate the side navigation menu. Look for the Cost Monitoring option and click on it.
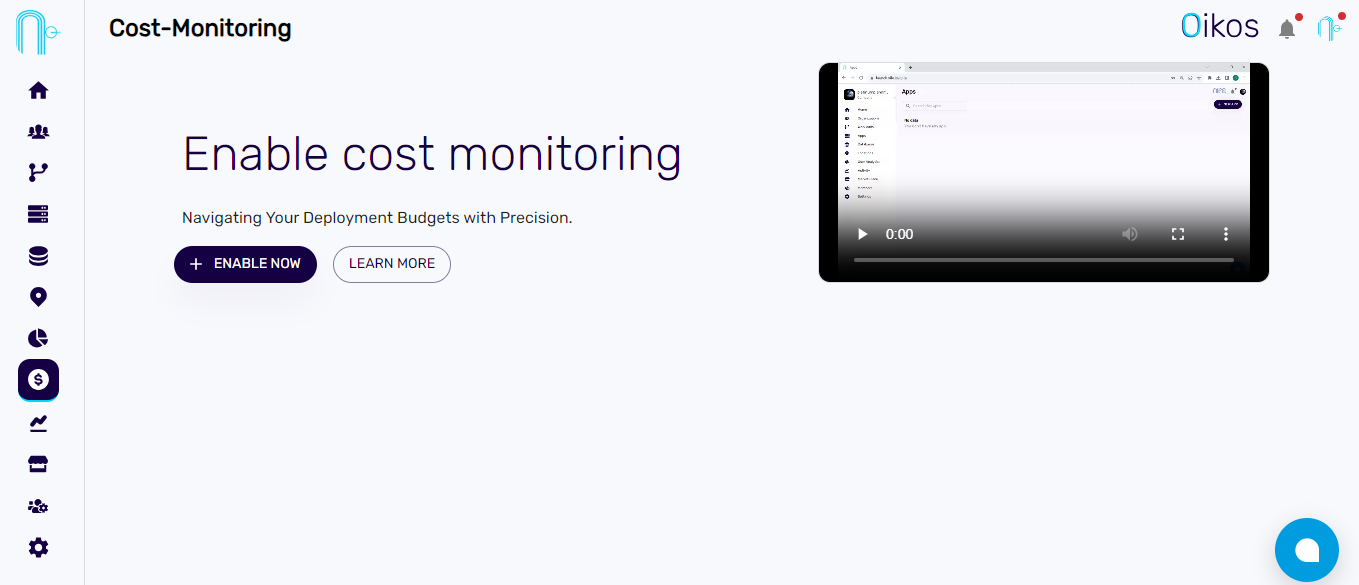
Step 3: Enable Cost Monitoring:#
On the "Cost Monitoring" page, click the Enable Now button to activate the Cost Monitoring feature.
Step 4: Adding Cloud Account#
Adding AWS Account#
Here is a step-by-step guide on generating an AWS access key and secret key with the required permissions: Generating AWS Access Key.
AWS Account Name: Choose a user-friendly name for your AWS account.
AWS Access Key ID: Enter the Access Key ID for authentication.
AWS Secret Access Key: Provide the Secret Access Key for secure authorization.
Select AWS Region: Choose the AWS region.
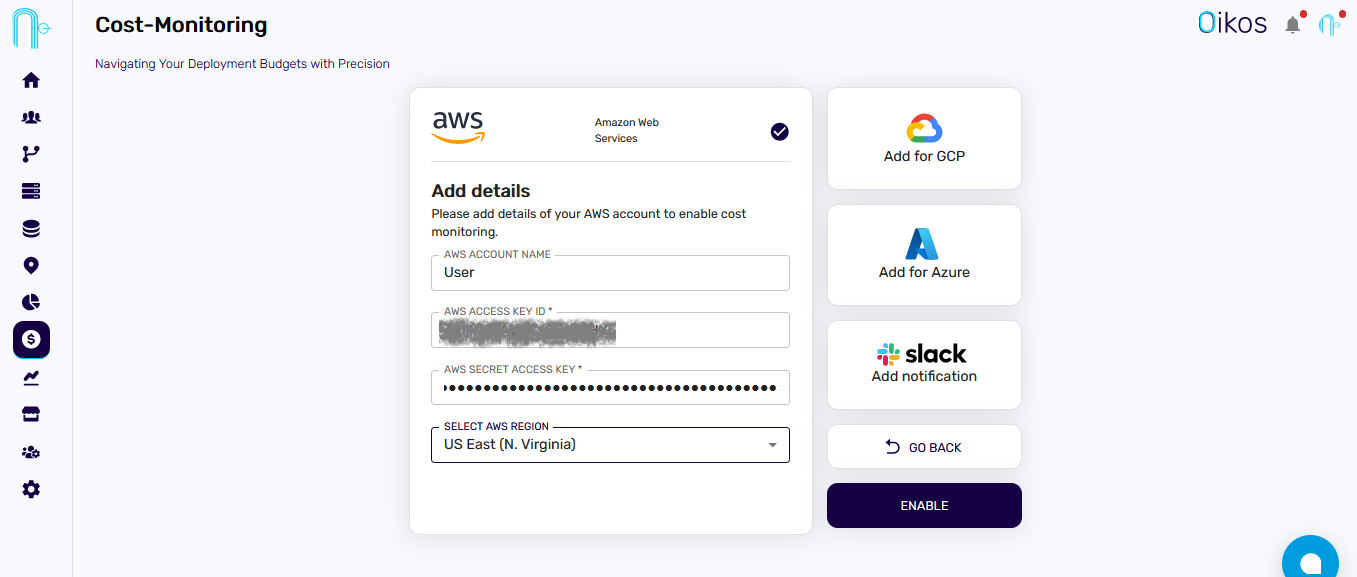
If you desire alerts, provide the Slack Webhook URL to receive notifications.
If you also have a GCP account, you can enable it concurrently with your AWS account.
Adding GCP Account#
Here is a step-by-step guide on creating a Google Service Account and downloading its key as a JSON file for integration with Nife-Cost: Creating Google Service Account.
- Upload Service Account JSON: Click "Upload" below and select the downloaded GCP Service Account JSON file.
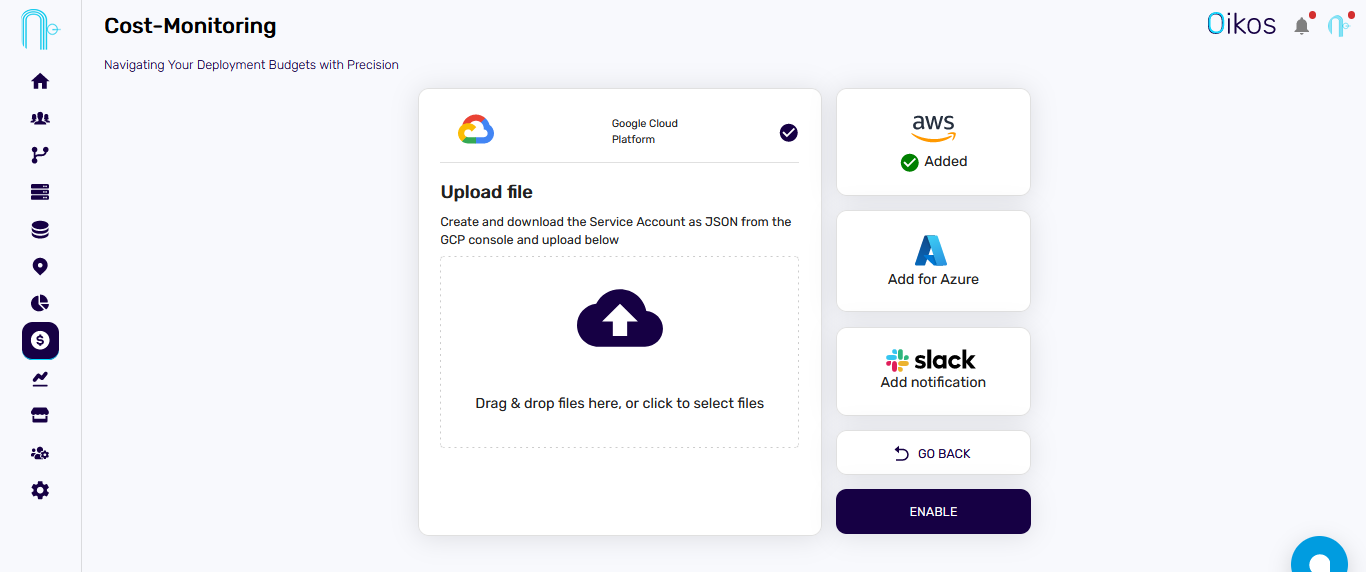
If you desire alerts, provide the Slack Webhook URL to receive notifications.
If you also have a AWS account, you can enable it concurrently with your GCP account.
Adding Slack alerts(optional)#
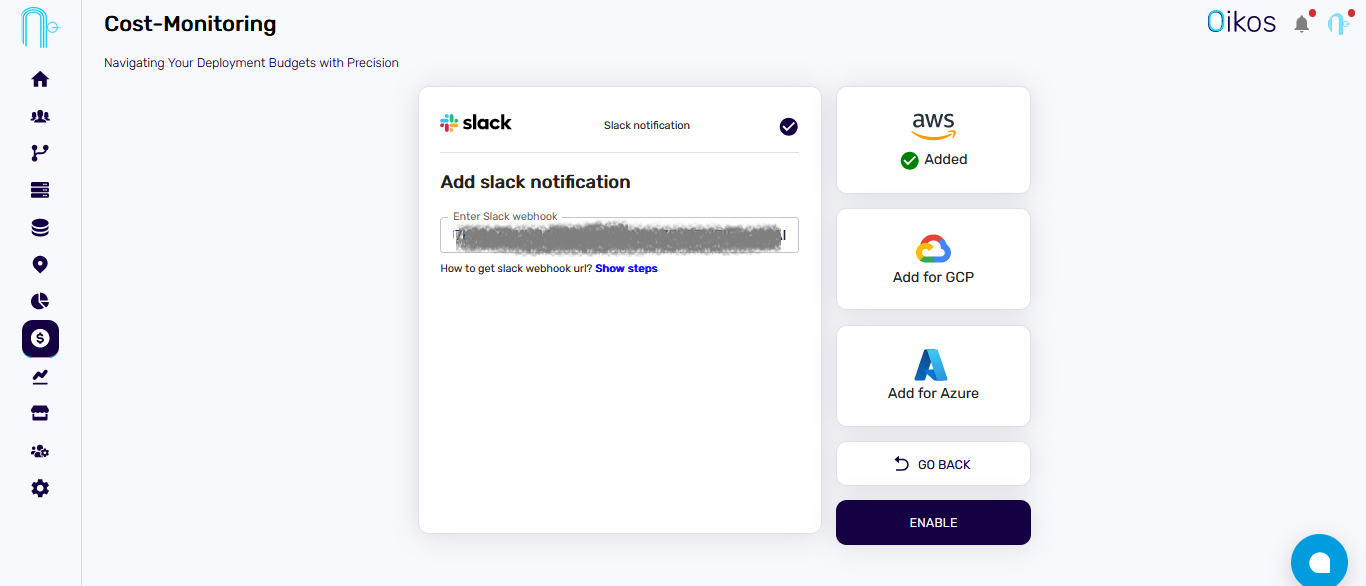
- Paste the Slack webhook URL.
How to get slack webhook url? user guide
Step 5: Click on Enable:#
- Clicking on enable initiates the deployment of the cost monitoring application.
Step 6: Click on Open Dashboard:#
- After deploying, click on the
Open Dashboard. This opens your cloud cost monitoring application in a new tab.