Cloud Cost Monitoring on Nife | AWS & GCP Cost Dashboard
Efficient management of cloud resources is crucial for optimizing operational expenses and ensuring optimal performance. Cloud cost monitoring plays a pivotal role in this strategy, providing organizations with comprehensive insights into their expenditure across various cloud platforms.
Note: Currently, we provide Cost Monitoring for AWS and GCP. Excitingly, we are actively developing support for Azure, coming soon.
Steps to Access Cloud Cost Monitoring
Step 1: Navigate to the Dashboard Page
Log in to your account and access the Dashboard page.
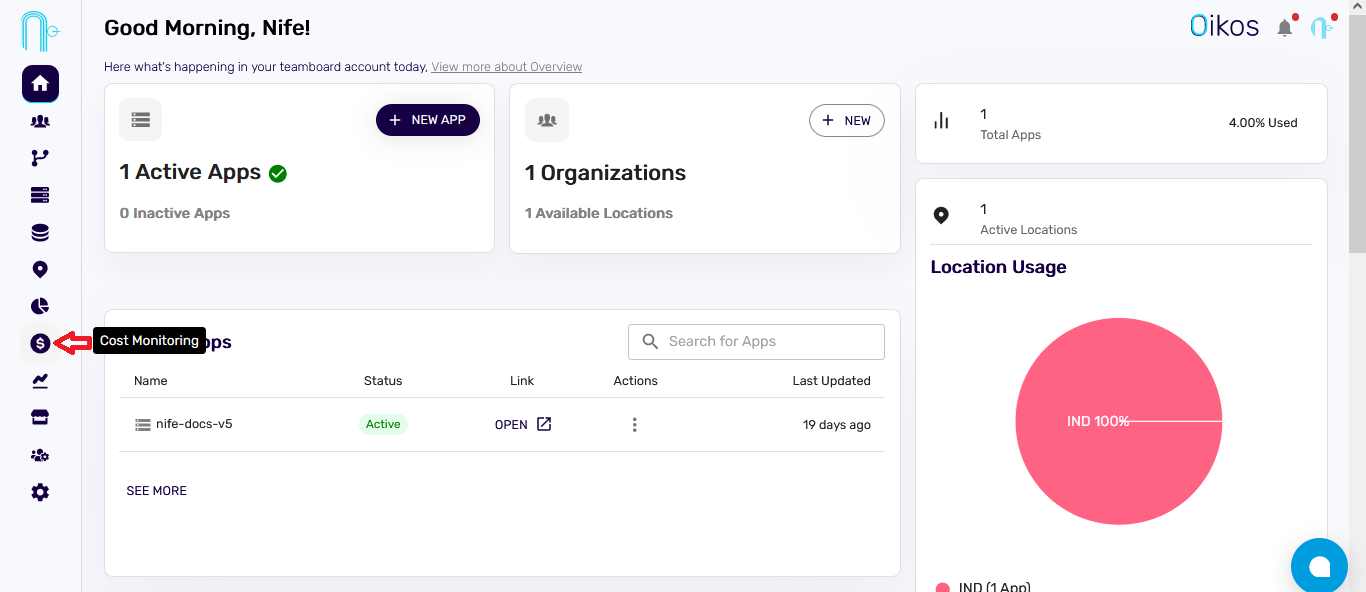
Step 2: Select "Cost Monitoring" from the Side Navigation
On the Dashboard, locate the side navigation menu. Look for the Cost Monitoring option and click on it.
Step 3: Enable Cost Monitoring
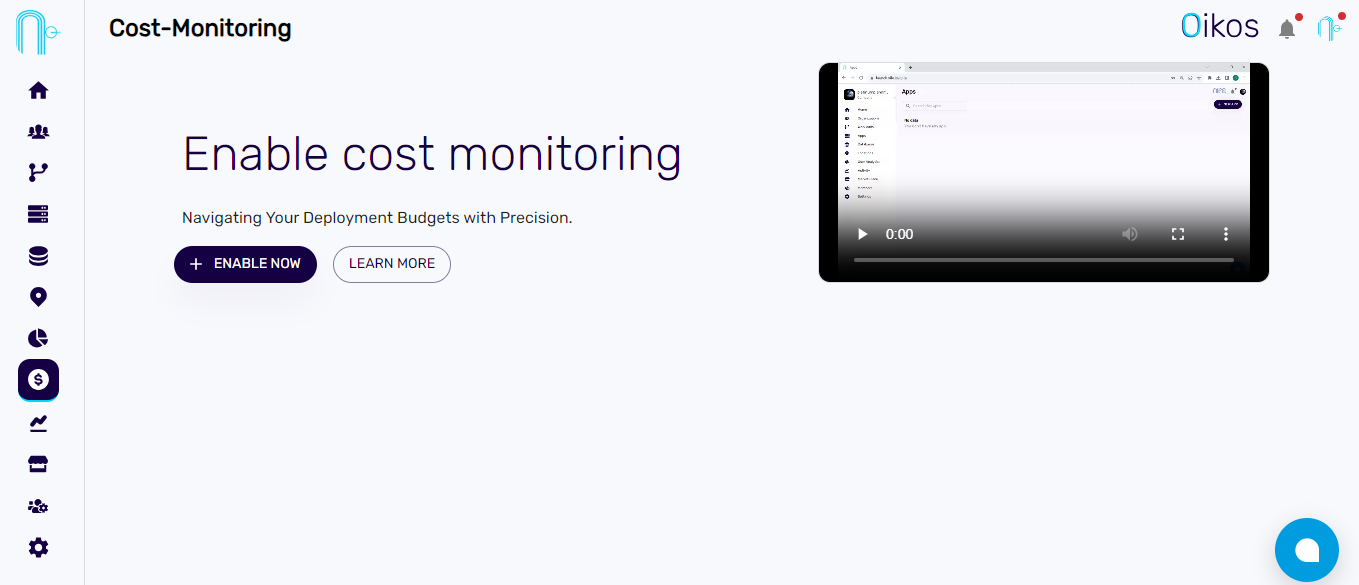
On the "Cost Monitoring" page, click the Enable Now button to activate the Cost Monitoring feature.
Step 4: Adding Cloud Account
Adding AWS Account
Here is a step-by-step guide on generating an AWS access key and secret key with the required permissions: Generating AWS Access Key.
-
AWS Account Name: Choose a user-friendly name for your AWS account.
-
AWS Access Key ID: Enter the Access Key ID for authentication.
-
AWS Secret Access Key: Provide the Secret Access Key for secure authorization.
-
Select AWS Region: Choose the AWS region.
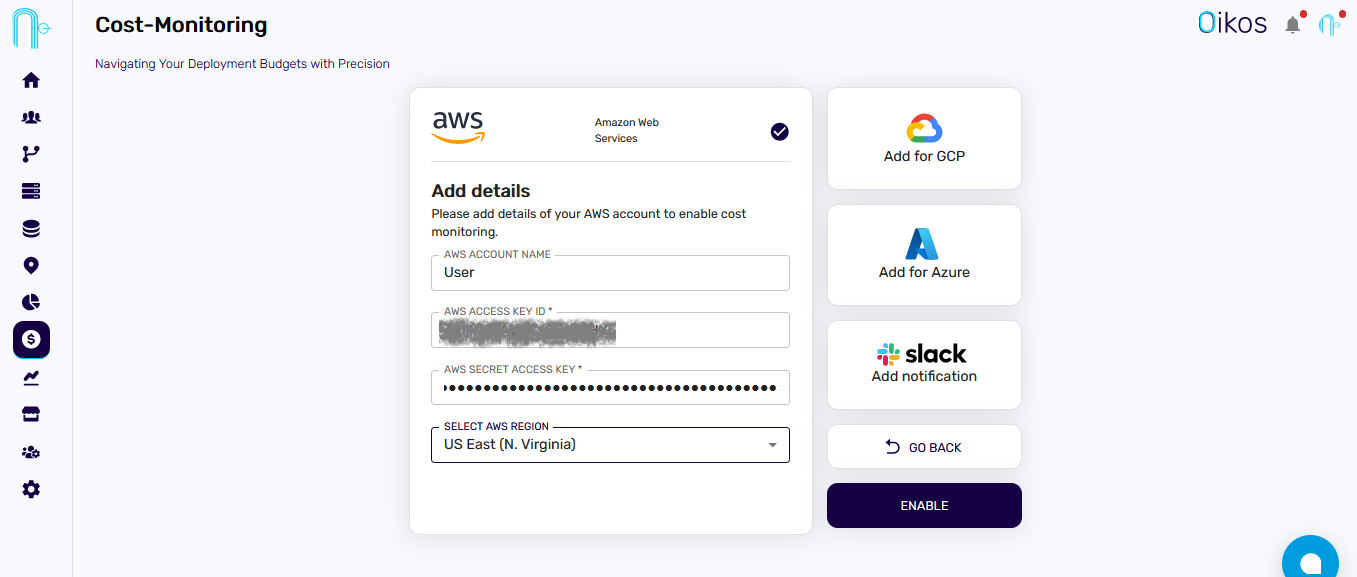
If you desire alerts, provide the Slack Webhook URL to receive notifications.
If you also have an AWS account, you can enable it concurrently with your GCP account.
Adding GCP Account
Here is a step-by-step guide on creating a Google Service Account and downloading its key as a JSON file for integration with Nife-Cost: Creating Google Service Account.
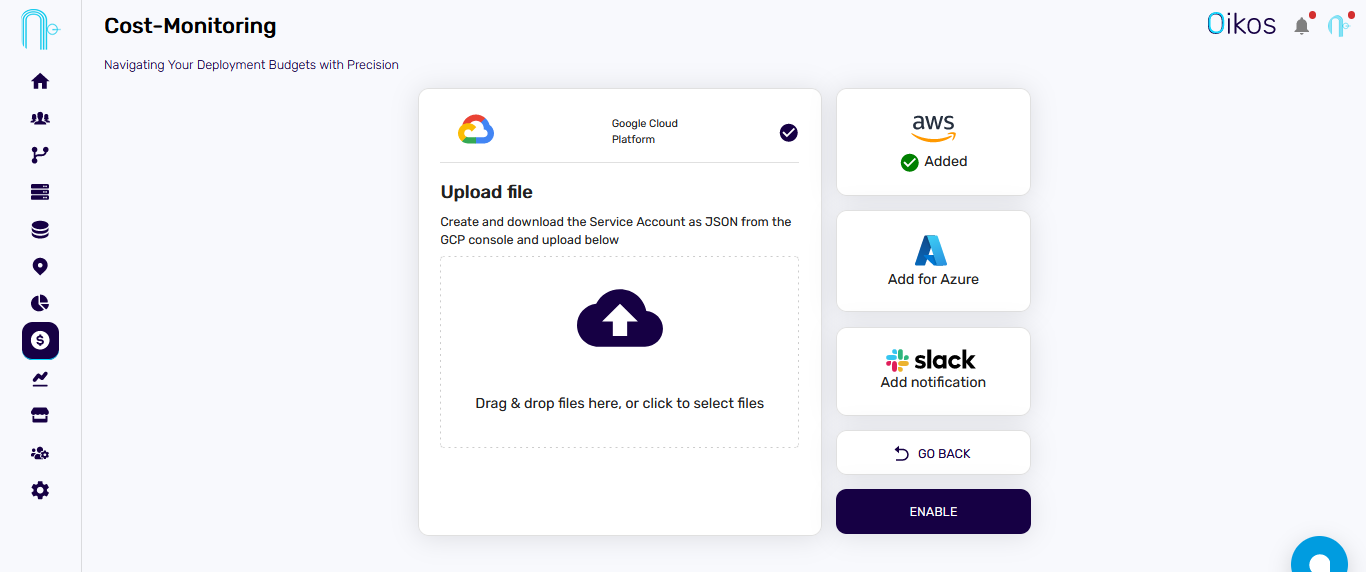
- Upload Service Account JSON: Click "Upload" below and select the downloaded GCP Service Account JSON file.
If you desire alerts, provide the Slack Webhook URL to receive notifications.
If you also have an AWS account, you can enable it concurrently with your GCP account.
Adding Slack Alerts (Optional)
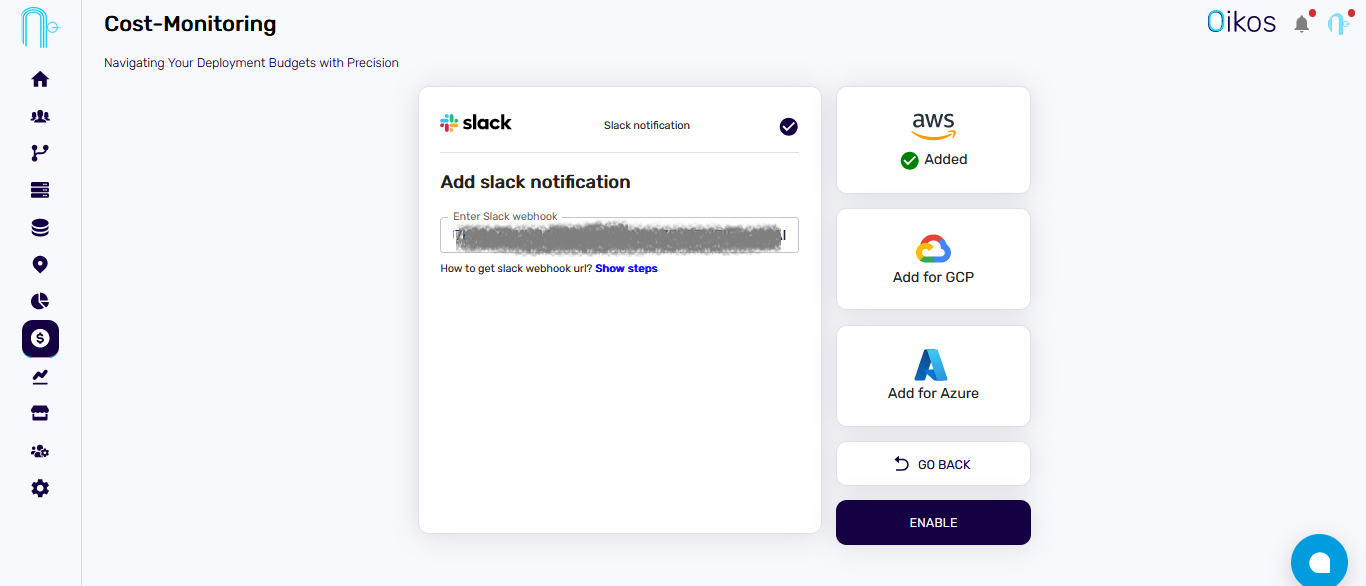
- Paste the Slack webhook URL.
How to get slack webhook url? user guide
Step 5: Click on Enable
- Clicking on enable initiates the deployment of the cost monitoring application.
Step 6: Click on Open Dashboard
- After deploying, click on the
Open Dashboard. This opens your cloud cost monitoring application in a new tab.
Related Resources
- 💰 Nife Cost — FinOps & cost visibility product overview
- 🧮 Cloud Price Calculator — estimate multi-cloud spend before you deploy
- 🌐 nife.io — Learn about Nife's cost-efficient edge cloud platform
- 🚀 Launch Dashboard — Start monitoring your cloud costs
- 📖 Blog: Cloud Cost Optimization