6 posts tagged with "troubleshooting"

View All Tags

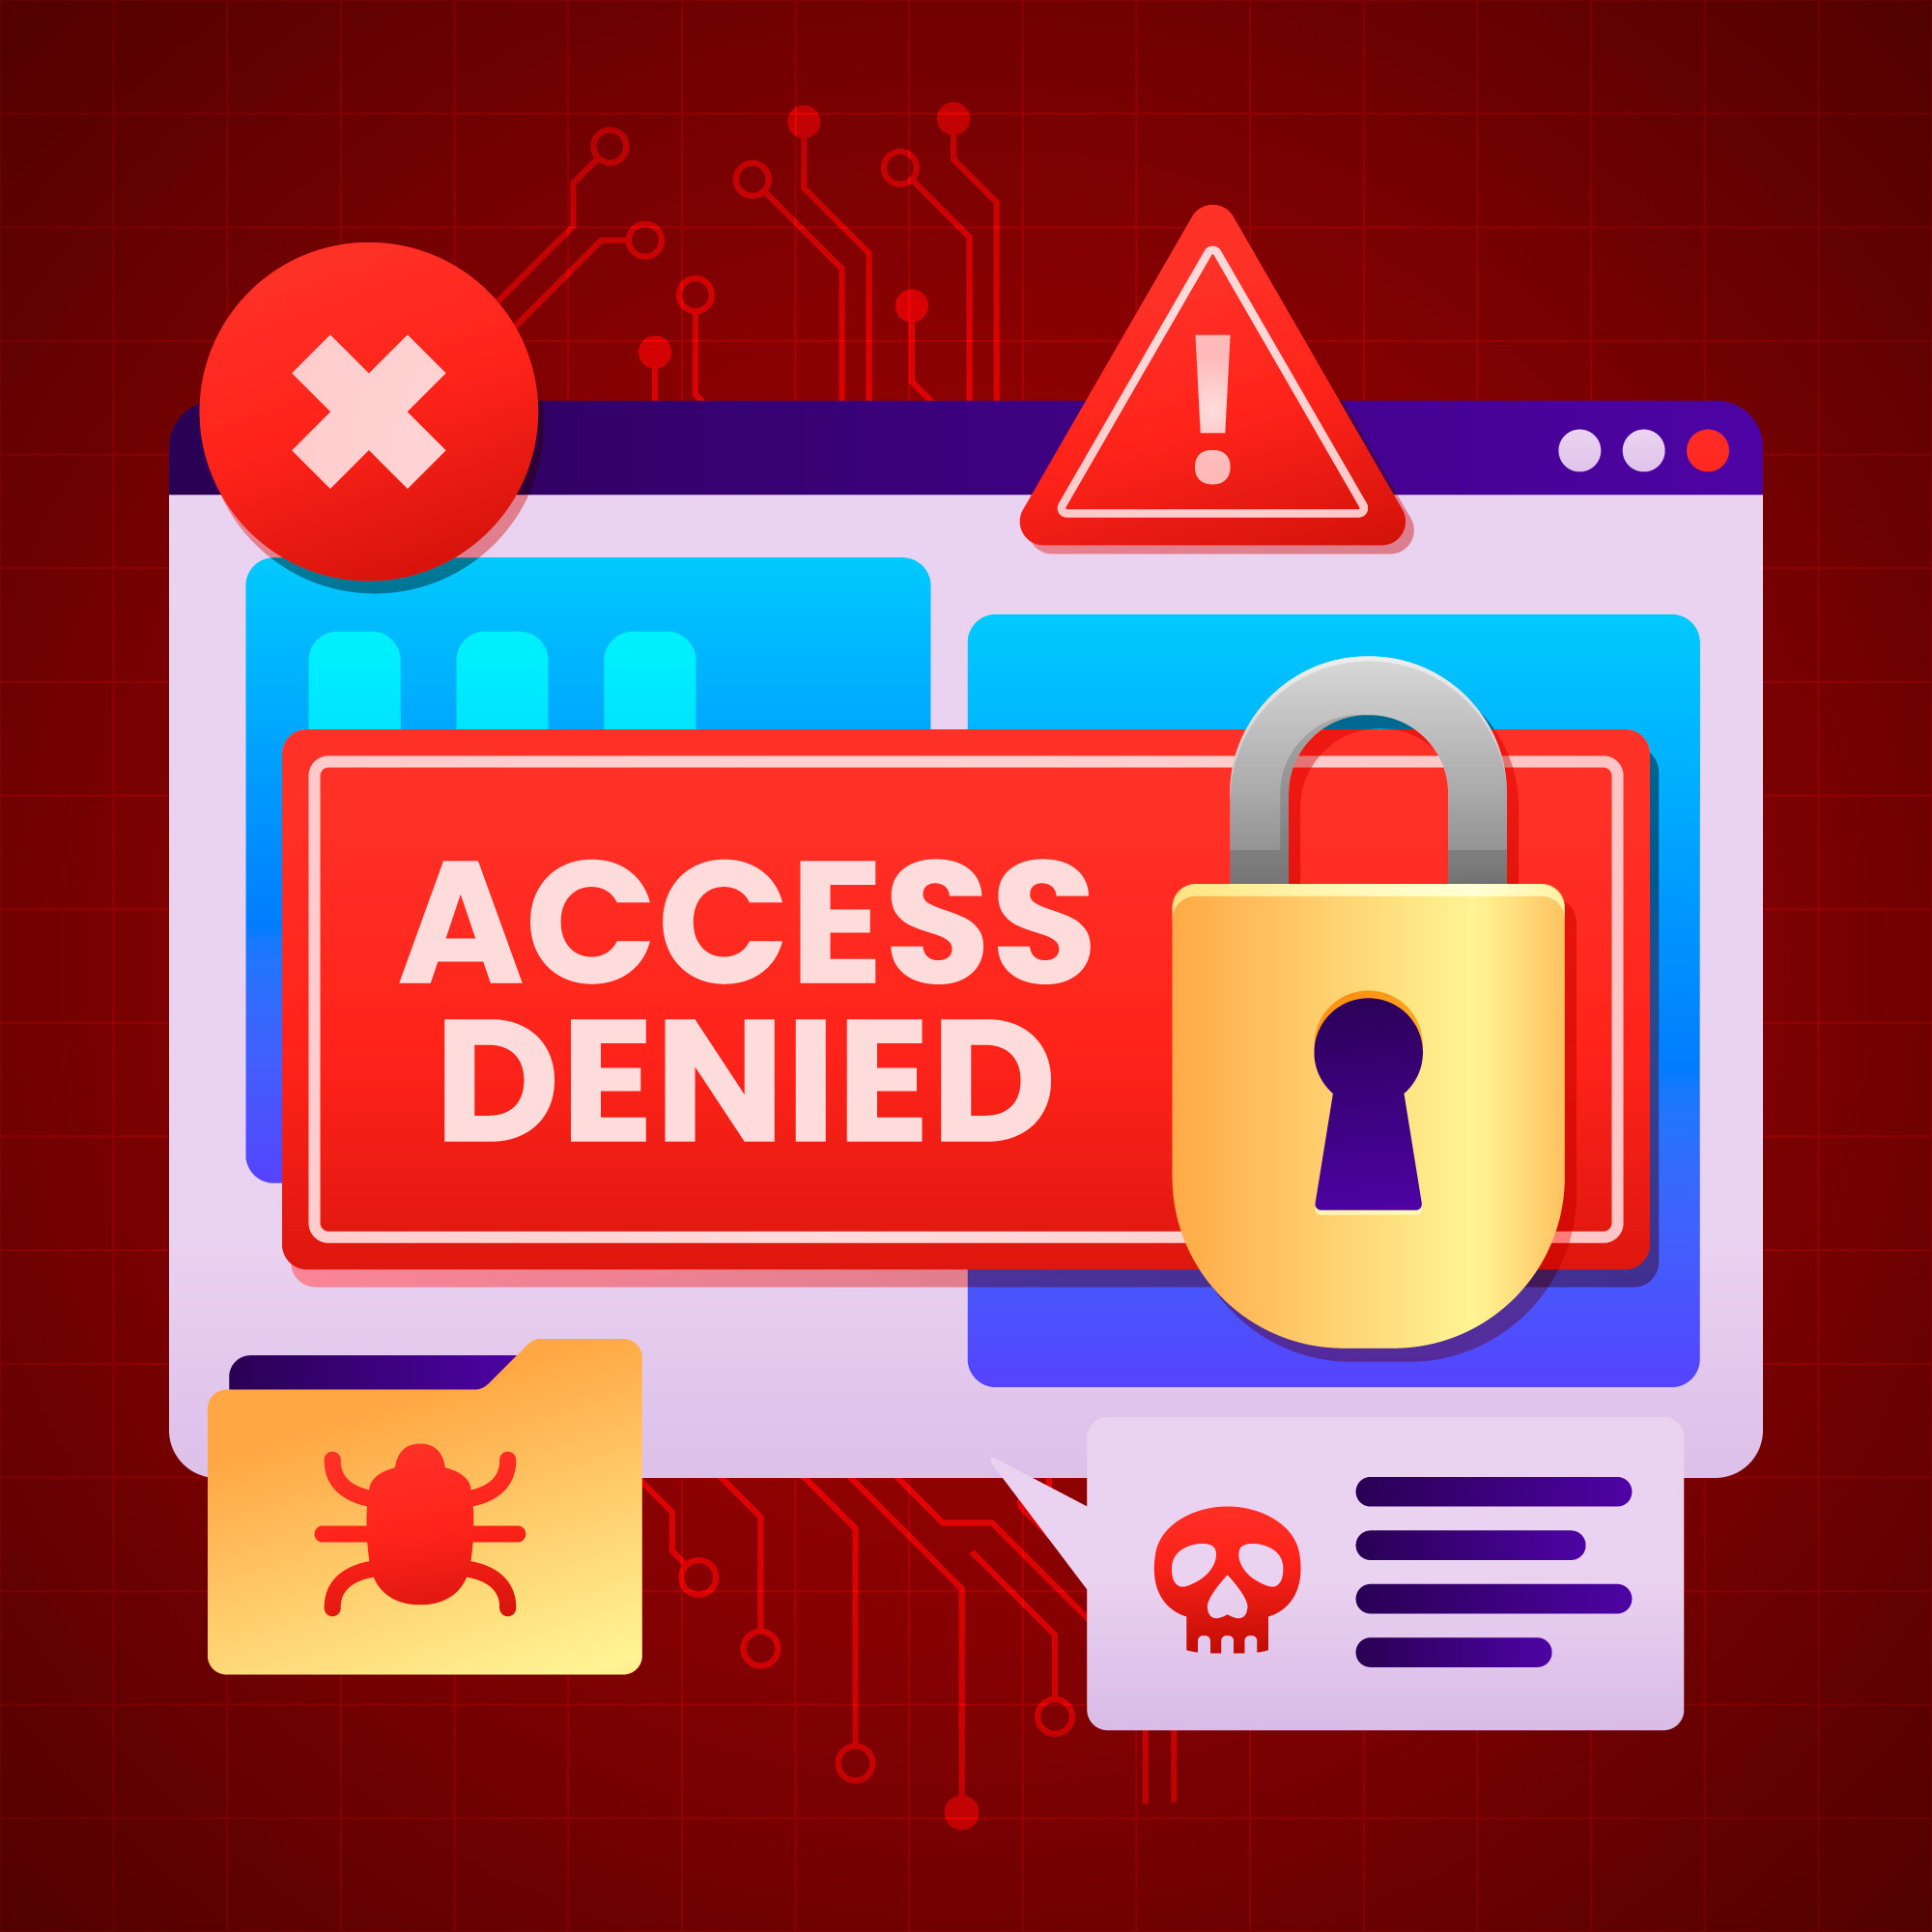
How to Fix a WordPress Site Stuck at 33% Loading on AWS Lightsail

If your WordPress site hosted on AWS Lightsail freezes at 33% when loading, don’t panic—this is a common issue, often caused by a misbehaving plugin. Since Lightsail runs WordPress in a managed environment, plugin conflicts or performance bottlenecks can sometimes cause this problem.

In this guide, I’ll walk you through troubleshooting steps to identify and fix the problematic plugin so your site loads properly again.


Why Does WordPress Get Stuck at 33%?#

Confused user illustration for WordPress stuck

When your site hangs at 33%, it usually means WordPress is waiting for a response from a slow or failing process—often a plugin. This could happen because:

  • A plugin is conflicting with another plugin or theme
  • An outdated plugin is incompatible with your WordPress or PHP version
  • A resource-heavy plugin (like backup or SEO tools) is slowing things down
  • A buggy plugin is causing errors that prevent the page from loading

Since AWS Lightsail doesn’t provide direct error logs in the dashboard, we’ll need to manually check and disable plugins to find the culprit.


Step-by-Step Troubleshooting#

User navigating steps to troubleshoot WordPress issues

1. Access Your WordPress Site via SSH#

Since you can’t access the WordPress admin dashboard (because the site is stuck), you’ll need to log in to your Lightsail instance via SSH:

  1. Go to the AWS Lightsail console.
  2. Click on your WordPress instance.
  3. Under "Connect", click "Connect using SSH" (or use your own SSH client with the provided key).

Once connected, navigate to the plugins folder:

cd /opt/bitnami/apps/wordpress/htdocs/wp-content/plugins

More on SSH access in Lightsail

2. Temporarily Disable All Plugins#

To check if a plugin is causing the issue, we’ll disable all of them at once by renaming the plugins folder:

for plugin in $(ls); do mv "$plugin" "${plugin}_disabled"; done

This adds _disabled to each plugin’s folder name, making WordPress ignore them.

3. Check If Your Site Loads#

Checking if site loads correctly

After disabling plugins, refresh your WordPress site. If it loads normally, the problem is definitely plugin-related.

4. Re-enable Plugins One by One#

Now, we’ll re-enable plugins one at a time to find the troublemaker.

For example, to re-enable "Yoast SEO", run:

mv yoast-seo_disabled yoast-seo

After enabling each plugin, refresh your site. If it freezes again, the last plugin you enabled is likely the issue.

5. Clear Cache and Restart Services#

Sometimes, cached data can interfere. Clear the cache and restart your web server:

rm -rf /opt/bitnami/apps/wordpress/htdocs/wp-content/cache/*
sudo /opt/bitnami/ctlscript.sh restart apache

Bitnami restart commands

How to clear WordPress cache properly

This ensures changes take effect.

6. Fix or Replace the Problematic Plugin#

Once you’ve found the faulty plugin, you have a few options:

✔ Update it – Check if a newer version is available.
✔ Find an alternative – Some plugins have better alternatives.
✔ Contact support – If it’s a premium plugin, reach out to the developer.

Find plugin alternatives on WordPress.org

Best practices for evaluating WordPress plugins


Final Thoughts#

A WordPress site freezing at 33% is frustrating, but the fix is usually straightforward—a misbehaving plugin. By disabling plugins via SSH and re-enabling them one by one, you can quickly identify the culprit.

Since AWS Lightsail doesn’t provide detailed debugging tools, this manual method is the most reliable way to troubleshoot. Once you find the problematic plugin, updating, replacing, or removing it should get your site back to normal.

Ask questions or share your experience on the Bitnami Community Forum

To deploy a static site or frontend framework (e.g., React, Vue, Angular), refer to the Nife Build File Deployment guide for configuring and uploading your build assets.

Check out our solutions on nife.io

Fix Nginx Infinite Redirect Loops: A Step-by-Step Guide

Encountering endless redirects between HTTP and HTTPS on your Nginx website? This common issue, often called an "infinite redirect loop," can be frustrating. Stack Overflow This guide provides a step-by-step solution to configure Nginx for smooth and secure redirection.

Understanding Infinite Redirect Loops#

A screenshot of a web browser displaying the Too Many Redirects error message.

The goal of HTTP to HTTPS redirection is simple: automatically route http://yourdomain.com requests to https://yourdomain.com. However, misconfiguration can create a cycle where Nginx repeatedly redirects between HTTP and HTTPS, preventing users from accessing the page and resulting in the dreaded "Too Many Redirects" browser error. sitechecker

Solving Infinite Redirect Loops in Nginx#

A diagram showing an HTTP request being redirected to HTTPS, then incorrectly back to HTTP, creating an infinite loop.

This guide provides a solution to configure Nginx correctly, eliminating frustrating redirect loops. checkout infinite redirect for next js

1. Redirect HTTP to HTTPS#

A code snippet showing the correct Nginx configuration for redirecting HTTP to HTTPS, highlighting the `return 301` line.

The primary cause of infinite redirect loops is often improper HTTP to HTTPS redirection. Configure your Nginx configuration file as follows:

server {
listen 80;
server_name yourdomain.com;
# Redirect all HTTP traffic to HTTPS
return 301 https://$host$request_uri;
}
  • listen 80;: Nginx listens on port 80 for HTTP traffic.
  • server_name yourdomain.com;: Specifies the domain to redirect.
  • return 301 https://$host$request_uri;: Performs a permanent (301) redirect to the HTTPS version, preserving the original URL path. community.cloudflare

2. Configure the HTTPS Server Block#

This server block handles HTTPS requests on port 443 and utilizes your SSL certificates:

server {
listen 443 ssl;
server_name yourdomain.com;
ssl_certificate /etc/nginx/ssl/yourdomain.crt;
ssl_certificate_key /etc/nginx/ssl/yourdomain.key;
location / {
try_files $uri $uri/ =404;
}
}
  • listen 443 ssl;: Nginx listens on port 443 for HTTPS traffic.
  • ssl_certificate and ssl_certificate_key: Paths to your SSL certificate and private key. Ensure these paths are correct.
  • location /: This block handles incoming HTTPS requests. try_files attempts to serve the requested file or returns a 404 error if not found.

3. Preventing Redirect Loops: The Crucial Step#

The key to preventing loops is to ensure that redirection occurs only from HTTP to HTTPS. Avoid configuring redirects within the HTTPS server block. Keep the HTTP block solely for redirection and the HTTPS block for serving secure content. nife.io - Web development reference

4. Test and Reload Nginx#

Before restarting Nginx, test your configuration:

sudo nginx -t

If no errors are reported, reload Nginx:

sudo systemctl reload nginx

5. Clearing Browser Cache (If Necessary)#

If the "Too Many Redirects" error persists, clearing your browser's cache and cookies might resolve the issue.

Conclusion#

Setting up an HTTP to HTTPS redirect in Nginx is pretty simple, but getting it right is key to avoiding endless redirect loops. The best way to do it is by setting up two separate server blocks—one to catch HTTP traffic and send it to HTTPS, and another to handle secure HTTPS connections.

This way, your users get a seamless and secure browsing experience without unnecessary redirects slowing things down. Frontend Deployment with Nife

How to Resolve "Permission Denied" Issues When SFTP File Uploading to a Bitnami Server

Access Denied warning with a locked padlock, error symbols, and malware icons—representing SFTP permission issues on a Bitnami server.

You're not alone if you've ever attempted to upload a file to your Bitnami server using SFTP and run into the dreaded Permission denied error. When the person you're connecting as lacks the required write rights for the target directory, this problem frequently occurs. To help you troubleshoot and resolve this issue so you may resume your job, here is a simple instruction.

Recognizing the Issue#

Usually, the error looks something like this:

/path/to/target/directory/yourfile.ext" is the remote open function. Denied permission

This occurs because your SFTP account lacks write permissions to the directory you're attempting to upload to, which is held by a user (or group). This is particularly typical for WordPress or other application-related folders on Bitnami servers.

First step: Verify Permissions#

Illustration of a person entering an OTP code for two-factor authentication, representing secure login verification with a shield icon for data protection.

Go to the target directory first by SSHing into your server. To check its permissions, use the ls -ld command:

ssh -i LightsailDefaultKey.pem bitnami@yourserver
ls -ld /path/to/your/directory

This is what you'll see:

drwxr-xr-x 2 root root 4096 Nov 9 12:00 ai1wm-backups

In this instance, root is the owner of the directory, and only the owner is able to write. Your upload failed because of this.

Learn more about Linux file permissions

Second Step: Modify Permissions Temporarily#

You can let anyone write to the directory if you don't mind temporarily lowering the directory permissions:

sudo chmod 777 /path/to/your/directory

Next, use SFTP to upload your file:

sftp -i LightsailDefaultKey.pem bitnami@yourserver
cd /path/to/your/directory
put yourfile.ext

Revert the permissions to a more secure level after the upload is finished:

sudo chmod 755 /path/to/your/directory

More details on chmod

Step 3: Use scp with sudo#

Illustration of a person sitting with a laptop in front of a large screen showing a software update in progress, with cloud upload and refresh icons representing system updates and synchronization.

Another choice if you don't want to change the directory permissions is to upload the file to a temporary directory, such as /tmp, using scp (secure copy), and then use sudo to move it to the target directory.

Transfer the file to /tmp:#

scp -i LightsailDefaultKey.pem yourfile.ext bitnami@yourserver:/tmp

Move the file to the target directory:#

ssh -i LightsailDefaultKey.pem bitnami@yourserver
sudo mv /tmp/yourfile.ext /path/to/your/directory/

Best Practices#

  • Use the Least Privileges Required: To avoid security issues, always reverse directory permissions after finishing an operation.

  • Verify Control: If this is a routine task, think about giving the Bitnami user control of the directory:

    sudo chown bitnami:bitnami /path/to/your/directory
  • Automate Using Scripts: If you frequently perform this task, a straightforward script can help you save time and effort.

Bitnami Documentation has additional guidance on managing permissions effectively.

Conclusion#

That's it! You may easily upload your files and get around the Permission denied problem by changing permissions or by utilizing scp with sudo. This technique is applicable to any Linux-based system with comparable permission problems, not just Bitnami servers.

If you're looking for cloud deployment, check out what Oikos by Nife has to offer.

Fixing WordPress Theme Issues on Apache with PHP: A Guide for Web Admins

Illustration of a person using a laptop with a large screen displaying a web address, symbolizing website development or WordPress

You're not alone if you're in charge of a WordPress website and suddenly discover that your themes aren't loading or that you're receiving error messages. These issues are often caused by misconfigurations, outdated themes, or server-related problems. Fortunately, most of these problems can be fixed with some technical knowledge.

1. Server and File Permissions: A Common Culprit#

Verifying the ownership and permissions of your theme files is crucial when themes aren't loading. WordPress needs the correct permissions to read theme files and display them properly.

Check Ownership:

sudo chown -R www-data:www-data /var/www/html/wordpress/wp-content/themes

Set Correct Permissions:

sudo find /var/www/html/wordpress/wp-content/themes -type d -exec chmod 755 {} \;
sudo find /var/www/html/wordpress/wp-content/themes -type f -exec chmod 644 {} \;

2. Reinstalling Themes: When in Doubt, Reinstall#

Woman customizing a website interface, symbolizing WordPress development.

If the issue lies with the theme itself—possibly due to missing files or corruption—reinstalling it is often the fastest solution.

Delete Existing Themes:

rm -rf /var/www/html/wordpress/wp-content/themes/*

Reinstall Default Themes:

wp theme install twentytwentyone --activate --path=/var/www/html/wordpress

After reinstalling, clear your browser's cache to ensure updates are reflected.

3. Database Conflicts: Are You Using the Correct Theme?#

WordPress stores theme settings in the database. If you've switched servers or updated themes, your active theme setting may be outdated.

Check Active Theme:

wp option get template --path=/var/www/html/wordpress
wp option get stylesheet --path=/var/www/html/wordpress

Update Active Theme:

wp option update template twentytwentyone --path=/var/www/html/wordpress
wp option update stylesheet twentytwentyone --path=/var/www/html/wordpress

4. Apache Configuration and PHP Settings#

Developers working on website coding and security.

Ensure that your PHP version is compatible with WordPress:

php -v

Also, check Apache error logs for issues:

tail -f /var/log/apache2/error.log

For additional troubleshooting tips, visit WordPress.org.

5. Clearing Cache and Browser Issues#

Try visiting your site in an incognito window or clearing your browser's cache. Also, disable any cache plugins temporarily to see if they are causing issues.

6. Conclusion: A Clean WordPress Setup for Smooth Sailing#

By setting correct file permissions, reinstalling themes, and keeping your server updated, you can prevent most theme-related issues. Always back up your WordPress installation before making major changes.

For a more scalable and efficient approach, consider modern deployment solutions like Nife.io. If you're looking for a seamless way to deploy frontend applications, check out our Frontend Application Deployment Guide.

Troubleshooting Missing WordPress Plugins: A Simple Guide

Illustration of a website under construction with a person painting and a robotic arm placing an image

If you use WordPress, you have undoubtedly encountered the dreaded error messages that occasionally appear in plugins. WordPress notifying you that a plugin has been deactivated because its file does not exist is one of the more annoying problems you may run into. Don't worry, even if it can feel like the end of the world! The solution to get things back on track is really simple. We'll go over several typical causes of this in this piece, along with simple solutions.

Why Is This Happening?#

Let's first examine the cause of the issue before attempting to resolve it. There are numerous possible reasons:

  • Incomplete Plugin Installation: Occasionally, files may be missing or the plugin may not have been installed correctly.
  • File Permissions Issues: Incorrect file permissions may prevent WordPress from accessing the plugin.
  • Corrupted Files or Migration Issues: Some files may have been lost or corrupted if you have migrated your website or made significant changes.
  • WordPress Core Problems: Sometimes the problem can be with the WordPress core files itself.

So, how do we fix this? Let's break it down.

Simplify your application deployment with Nife.io#

Whether you're hosting frontends, databases, or entire web applications, our platform makes it effortless. Get started with our guides:

Visit Nife.io

Step 1: Check the Plugin Directory#

Illustration of developers debugging code, with one person using a magnifying glass to find bugs on a large screen.

Verifying that the plugin files are present in your plugin directory is the first step. Your plugins are located under:

/wp-content/plugins/

Verify that the plugin folder is present by opening the directory. You can use your hosting file management or FTP to accomplish this. The plugin probably didn't install properly if the folder is missing, in which case you'll need to reinstall it.

Learn more about managing WordPress files via FTP: Using FTP for WordPress

Step 2: Reinstall the Plugin#

If the plugin folder is missing or incomplete, the easiest fix is to reinstall it. To do this:

  • Delete the Plugin: From the WordPress dashboard, go to Plugins > Installed Plugins, find the problematic plugin, and deactivate/delete it.
  • Reinstall the Plugin: Either reinstall it from the WordPress Plugin Repository or upload the plugin manually (if you have the ZIP file).

Step 3: Check File Permissions#

Occasionally, file permissions may be the cause. WordPress won't be able to activate plugins if it doesn't have the proper permissions to read them. Here's how to resolve that:

  • Connect to your server using SSH or cPanel's file manager.
  • To ensure that the permissions for your plugins folder are configured appropriately, use the following commands:
sudo chown -R www-data:www-data /path/to/your/wordpress/wp-content/plugins/
sudo chmod -R 755 /path/to/your/wordpress/wp-content/plugins/

This ensures the web server (Apache or Nginx) has the right access to the plugin files.

More details on file permissions: Changing File Permissions in WordPress

Step 4: Reinstall WordPress Core Files#

Illustration of a technician holding a wrench, fixing a system error displayed on a laptop screen

After reinstalling plugins and adjusting permissions, if the issue persists, there may be an issue with the WordPress core files. To correct this:

  1. Go to Dashboard > Updates.
  2. Click on Reinstall Now. This will reinstall the core WordPress files without affecting your content.

Step 5: Check the Server Logs#

It's time to examine the server logs if the problems persist. They can help you better understand the problem. The Apache error log is available at:

/var/log/apache2/error.log

Check for any particular issues with file access or plugin loading, as these could indicate the cause of the plugins' malfunctions.

Guide on accessing error logs: WordPress Error Logs

Step 6: Manually Upload Plugin Files#

If you know the plugin files are missing, or something went wrong during installation, you can upload the plugin files manually:

  1. Download the plugin ZIP file from the WordPress repository.
  2. Upload and extract the files in your /wp-content/plugins/ folder.
  3. After uploading, go back to the WordPress dashboard and activate the plugin.

Step 7: Clear Cache and Recheck#

Caching can occasionally result in plugin problems that continue to occur even after the root cause has been resolved. Make sure to empty the cache in your browser as well as WordPress (if you're using a caching plugin). This can assist in loading the most recent plugin status.

How to clear WordPress cache: Clearing Cache in WordPress

Conclusion: Don't Panic, Fix It#

Breathe deeply if you've encountered the "plugin file does not exist" problem. It's a typical issue, and you can quickly restore your site to normal by following these instructions. Reinstalling plugins or adjusting file permissions are usually the only solutions.

Remember to always back up your site before making major changes, like reinstalling plugins or WordPress itself. And if you're ever stuck, checking the server logs will usually give you a good clue about what went wrong.

Have you encountered this issue before? Drop a comment below if you have any tips or questions!

Troubleshooting: DynamoDB Stream Not Invoking Lambda

DynamoDB Streams and AWS Lambda can be integrated to create effective serverless apps that react to changes in your DynamoDB tables automatically. Developers frequently run into problems with this integration when the Lambda function is not called as intended. We'll go over how to troubleshoot and fix scenarios where your DynamoDB Stream isn't triggering your Lambda function in this blog article.

DynamoDB Streams and AWS Lambda

What Is DynamoDB Streams?#

Data changes in your DynamoDB table are captured by DynamoDB Streams, which enables you to react to them using a Lambda function. Every change (like INSERT, UPDATE, or REMOVE) starts the Lambda function, which can then analyze the stream records to carry out other functions like data indexing, alerts, or synchronization with other services. Nevertheless, DynamoDB streams occasionally neglect to call the Lambda function, which results in the modifications going unprocessed. Now let's explore the troubleshooting procedures for this problem.

1. Ensure DynamoDB Streams Are Enabled#

Making sure DynamoDB Streams are enabled for your table is the first step. The Lambda function won't get any events if streams aren't enabled. Open the Management Console for AWS. Go to Your Table > DynamoDB > Tables > Exports and Streams. Make sure DynamoDB Streams is enabled and configured to include NEW_IMAGE at the very least. Note: What data is recorded depends on the type of stream view. Make sure your view type is NEW_IMAGE or NEW_AND_OLD_IMAGES for a typical INSERT operation.

2. Check Lambda Trigger Configuration#

A common reason for Lambda functions not being invoked by DynamoDB is an improperly configured trigger. Open the AWS Lambda console. Select your Lambda function and navigate to Configuration > Triggers. Make sure your DynamoDB table's stream is listed as a trigger. If it's not listed, you'll need to add it manually: Click on Add Trigger, select DynamoDB, and then configure the stream from the dropdown. This associates your DynamoDB stream with your Lambda function, ensuring events are sent to the function when table items change.

3. Examine Lambda Function Permissions#

To read from the DynamoDB stream, your Lambda function needs certain permissions. It won't be able to use the records if it doesn't have the required IAM policies.

Ensure your Lambda function's IAM role includes these permissions:

json
{
"Version": "2012-10-17",
"Statement": [
{
"Effect": "Allow",
"Action": [
"dynamodb:GetRecords",
"dynamodb:GetShardIterator",
"dynamodb:DescribeStream",
"dynamodb:ListStreams"
],
"Resource": "arn:aws:dynamodb:region:account-id:table/your-table-name/stream/*"
}
]
}

Lambda can read and process records from the DynamoDB stream thanks to these actions.

4. Check for CloudWatch Logs#

Lambda logs detailed information about its invocations and errors in AWS CloudWatch. To check if the function is being invoked (even if it's failing):

  1. Navigate to the CloudWatch console.
  2. Go to Logs and search for your Lambda function's log group (usually named /aws/lambda/<function-name>).
  3. Look for any logs related to your Lambda function to identify issues or verify that it's not being invoked at all.

Note: If the function is not being invoked, there might be an issue with the trigger or stream configuration.

5. Test with Manual Insertions#

Use the AWS console to manually add an item to your DynamoDB table to see if your setup is functioning: Click Explore table items under DynamoDB > Tables > Your Table. After filling out the required data, click Create item and then Save. Your Lambda function should be triggered by this. After that, verify that the function received the event by looking at your Lambda logs in CloudWatch.

6. Verify Event Structure#

Your Lambda function's handling of the incoming event data may be the problem if it is being called but failing. Make that the code in your Lambda function is handling the event appropriately. An example event payload that Lambda gets from a DynamoDB stream is as follows:

json
{
"Records": [
{
"eventID": "1",
"eventName": "INSERT",
"eventSource": "aws:dynamodb",
"dynamodb": {
"Keys": {
"Id": {
"S": "123"
}
},
"NewImage": {
"Id": {
"S": "123"
},
"Name": {
"S": "Test Name"
}
}
}
}
]
}

Make sure this structure is handled correctly by your Lambda function. Your function won't process the event as intended if the NewImage or Keys section is absent from your code or if the data format is off. Lambda code example Here is a basic illustration of how to use your Lambda function to handle a DynamoDB stream event:

python
import json
def lambda_handler(event, context):
# Log the received event for debugging
print("Received event: ", json.dumps(event, indent=4))
# Process each record in the event
for record in event['Records']:
if record['eventName'] == 'INSERT':
new_image = record['dynamodb'].get('NewImage', {})
document_id = new_image.get('Id', {}).get('S')
if document_id:
print(f"Processing document with ID: {document_id}")
else:
print("No document ID found.")
return {
'statusCode': 200,
'body': 'Function executed successfully.'
}

7. Check AWS Region and Limits#

Make sure the Lambda function and your DynamoDB table are located in the same AWS region. The stream won't activate the Lambda function if they are in different geographical locations. Check the AWS service restrictions as well: Lambda concurrency: Make that the concurrency limit isn't being reached by your function. Throughput supplied by DynamoDB: Your Lambda triggers may be missed or delayed if your DynamoDB table has more read/write capacity than is allocated.

8. Retry Behavior#

There is an inherent retry mechanism in lambda functions that are triggered by DynamoDB Streams. AWS may eventually stop retrying if your Lambda function fails several times, depending on your configuration. To guarantee that no data is lost during processing, make sure your Lambda function retries correctly and handles mistakes graciously.

Conclusion#

A misconfiguration in the stream settings, IAM permissions, or event processing in the Lambda code may be the cause if DynamoDB streams are not triggering your Lambda function. You should be able to identify and resolve the issue by following these procedures and debugging the problem with CloudWatch Logs. The most important thing is to make sure your Lambda function has the required rights to read from the DynamoDB stream and handle the event data appropriately, as well as that the stream is enabled and connected to your Lambda function. Enjoy your troubleshooting!